Copyright BasementArcade.com
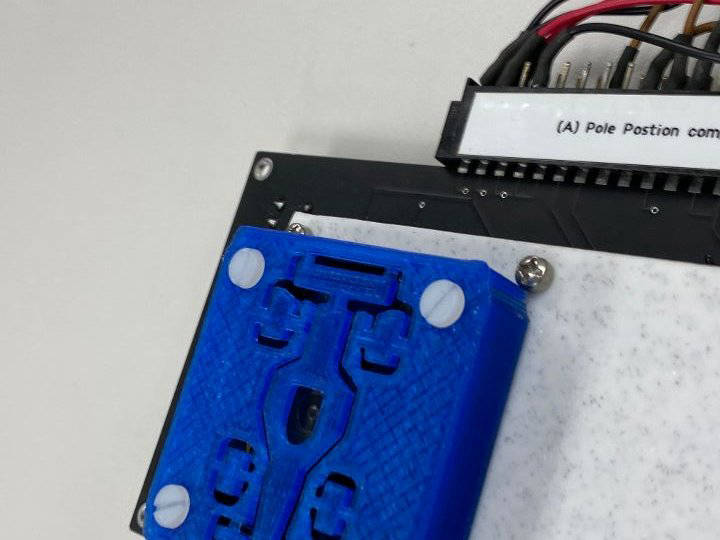
Installed In My Pole Position.


The raspberry pi, as well as most other single board computers, is normally designed to run without additional cooling. But anyone who is familiar with electronics, knows that heat is the enemy of components. Likewise, arcade game owners are also sensitive to keeping their equipment cool, so it lives an additional 25 years.
When the raspberry pi first came out, overclocking it was a common practice, so I adopted the practice of adding fans to 90% of my raspberry pi projects early on and have continued ever since. Jason’s board seems like a good candidate for this as well ,
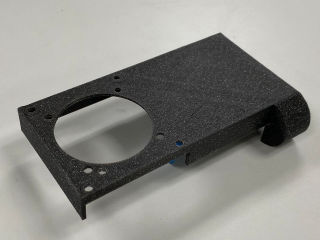
The design basically snaps in place and then is secured using for narrow fillister head philips screws that attach it to the raspberry pi once you tap it’s four mounting holes. The excess air blows out the shoot in the front, as I noticed that these components also generate heat when running. You will need a fan cover, that is not included in the design package, but is included on this website. Enjoy
| MULTICOMP - MC011496 - Fan, 5 V, DC, 50 mm, 10 mm, 25.6 dBA, 11 cu.ft/min | Shop for this item | ||
|---|---|---|---|
| 6-32 Thread, 1/2" Long
Narrow Fillister Head Phillips Screws
High-Profile | Shop for thie item | ||
| 6-32 Thread Size, 3/4" White Nylon Pan Head Screws
Slotted Drive Style | Shop for thie item |
| Printer Brand: | Dremel | ||
|---|---|---|---|
| Printer: | 3D20 | ||
| Nozzle Used: | Micro Swiss MK10 Plated Wear Resistant Nozzle for PTFE lined Hotend | Shop for this item | |
| Rafts? | No | ||
| Supports? | Your Choice | ||
| Infill | 35% | ||
| Shown Printed in Filament Color | Empire Strikes Black HTPLA with Silver Glitter, Filament, 2.2lbs | Shop for this item | |
| Shown Printed in Filament Color | ProtoPasta Marble White, HTPLA Filament, 2.2lbs | Shop for this item |
After printing your fan box and choice of fan cover, it’s time to prep for assembly.
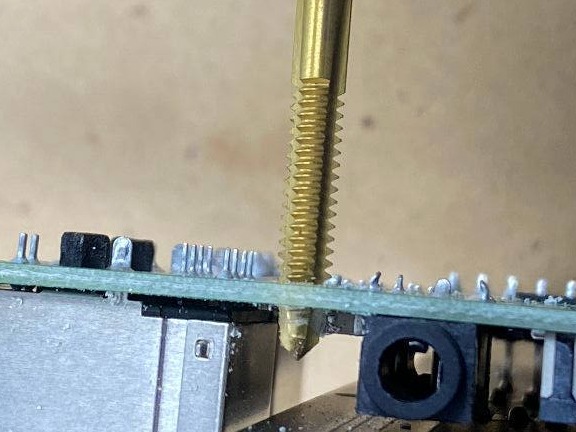
Using a 6-32 tap, tap the four corners of the pi board, making sure not to run the tap too deep to damage Jason‘s board below it. Additionally, use your 6-32 tap, to tap the fan boxes cover, in the four locations that mount the fan.
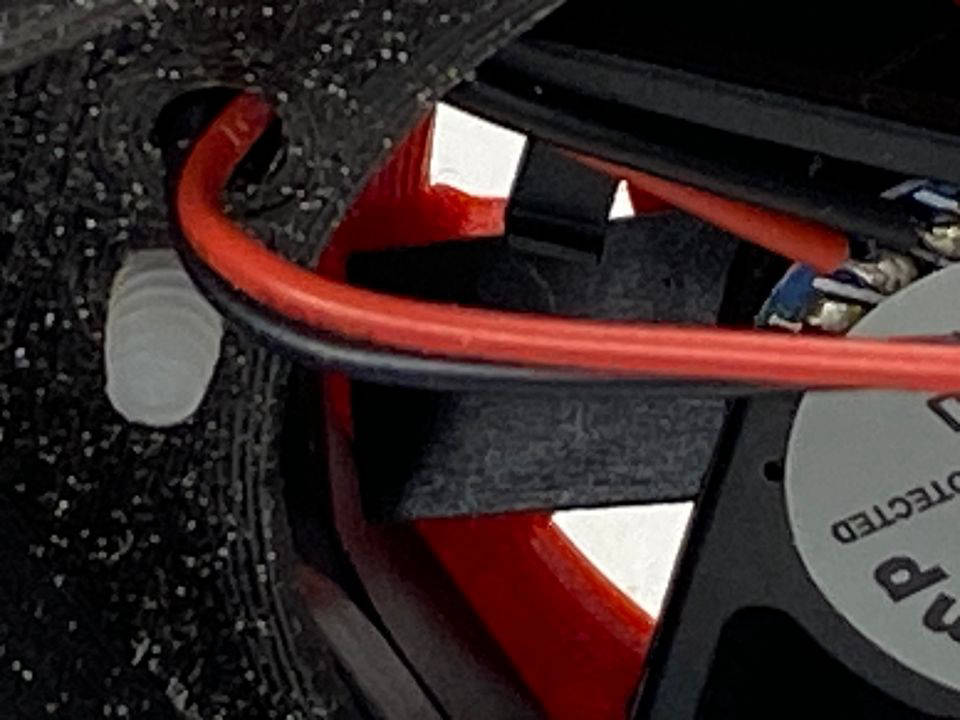
Assemble the fan and the fan cover and feed the power wires through the supplied hole, temporarily mounting the fan assembly to the cover assembly using two or more screws
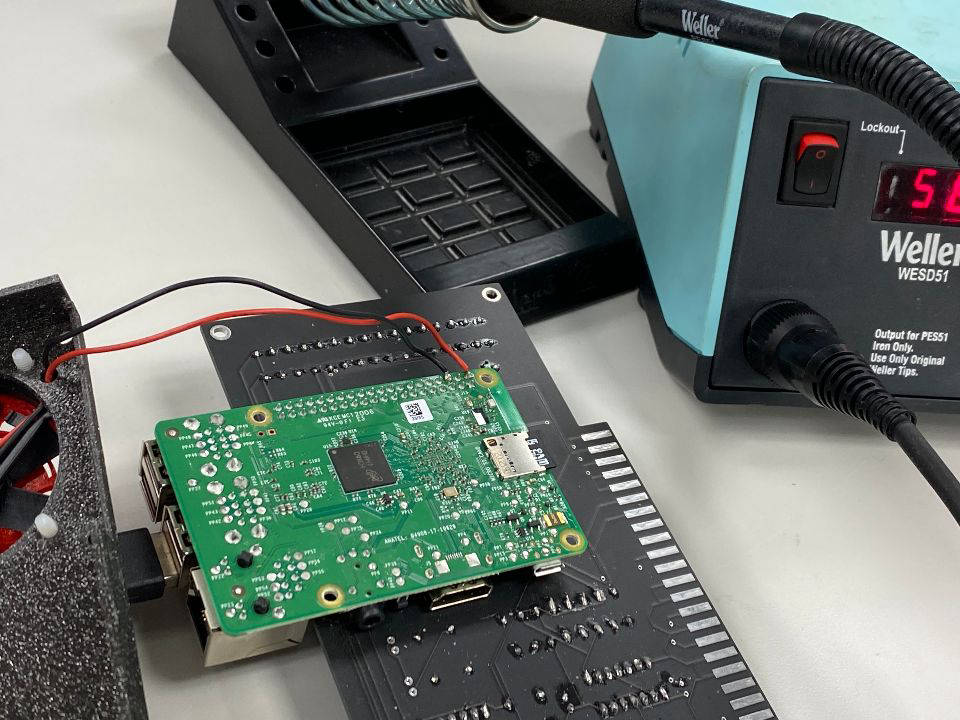
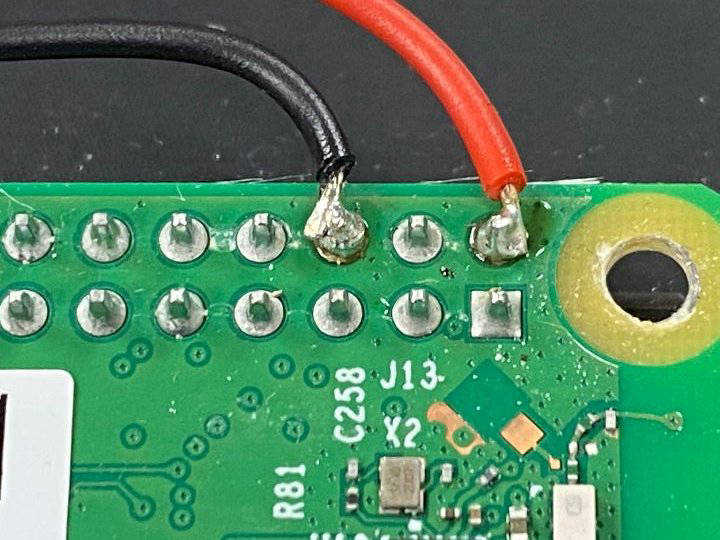
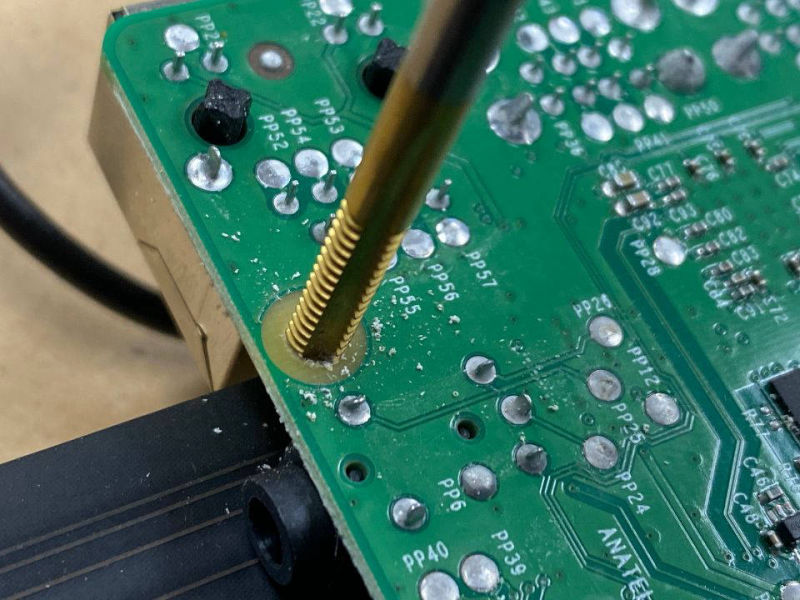
Lay the pi position board, and your assembled fan cover board next to each other and cut your power wires long enough to reach pins two and six on the raspberry pi board. Solder these in place to supply power to the fan.
Now snap the cover onto Jason's pi position board and attach using the four Fillister screws. At this point you may want to remove the fan and cover off of the main box, just to be sure that the excess wire will not brush into the fan. Reattach Fen with all four Nylon
Screws and enjoy
 Using a 6-32 tap, tap the four corners of the pi board
 Making sure not to run the tap too deep to damage the board below
 Tap the fan boxes cover 6-32
 feed the power wires through the supplied hole
 Cut your power wires long enough to reach pins two and six on the raspberry pi board.
 Solder these in place as shown
 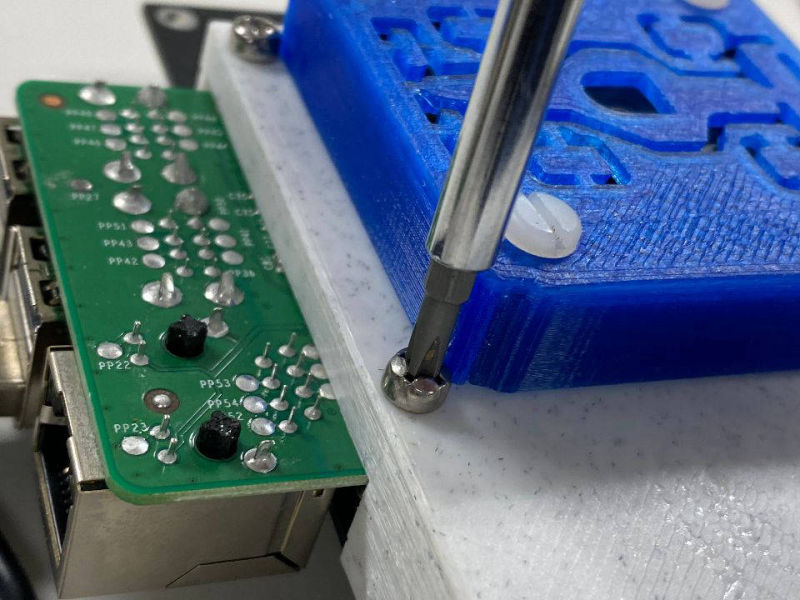 Attach using the four Fillister screws
 Secure fan with all four Nylon Screws and enjoy
This design, as well as previous designs, was done in Autodesk’s free 123D design. This is now an abandoned piece of software, that I am still very proficient in. You can download its last revision for Windows (2.2.14) here, but understand that the online cloud storage option no longer works.
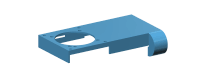
The .123dx file may contain sketches, solids, or both needed to render the final STL. and is included to ease part modification for your purpose.